
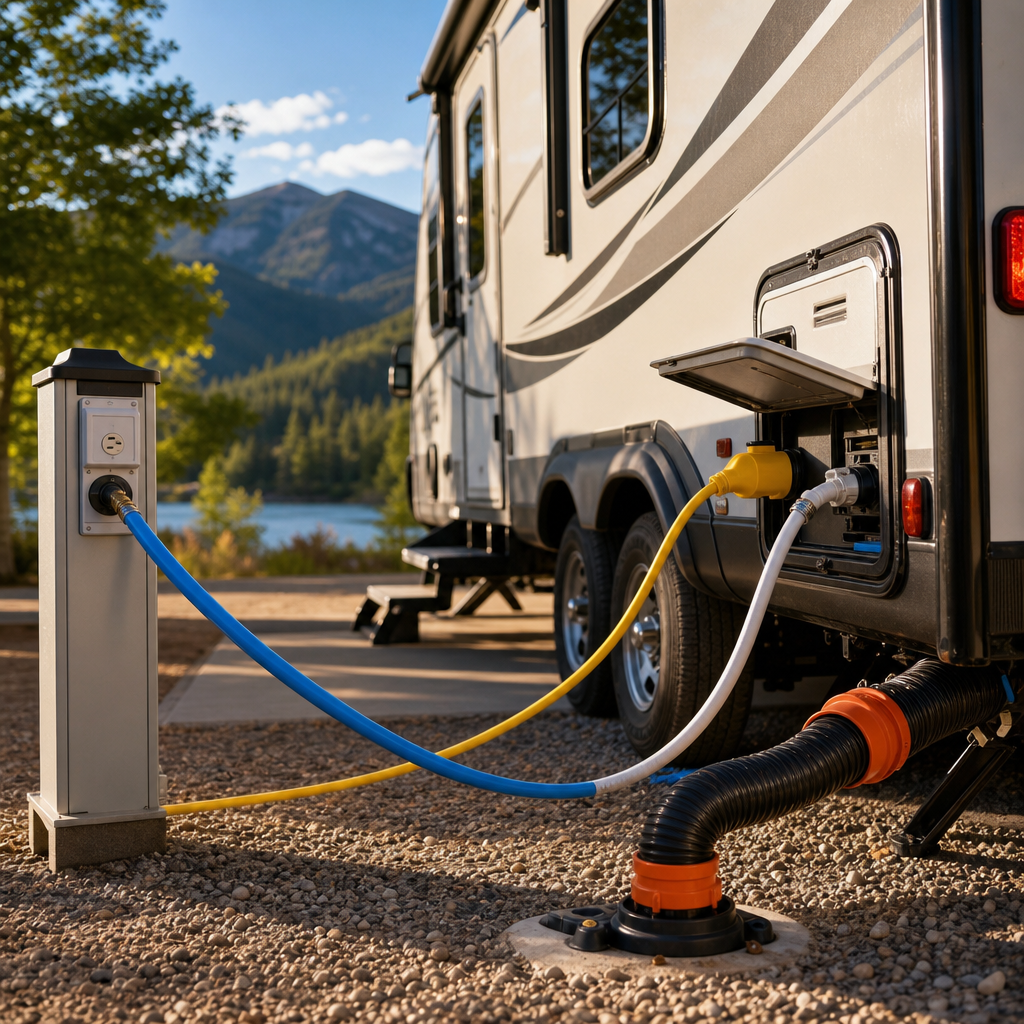
Pulling into a campsite for the first time can feel overwhelming. You’ve got the perfect spot, the view is great, but then you see the utility pedestal, the water spigot, and that mysterious sewer connection. Suddenly, the dream of relaxed RV living meets the reality of hoses, cords, and valves. If you’re new to this, you’re not alone, most RVers remember that initial anxiety. The good news? RV hookups are far simpler than they look. Once you break them down into three basic systems, water, electric, and sewer, you’ll realize they’re just routine tasks that become second nature with a little practice.
This guide walks you through each hookup, the best order to connect them, and the common mistakes to avoid. By the end, you’ll feel confident enough to handle your first campsite setup without stress. And if you’re just starting your RV journey, check out our RV Life for Beginners guide for a broader overview of what to expect.
Understanding the Three Basic Systems
At any full-hookup campsite, you’ll find three connections: fresh water, electricity, and sewer. Each serves a distinct purpose, and none of them are as complicated as they appear. Think of them as simple inputs and outputs for your rolling home.
- Fresh water brings clean, potable water into your RV’s plumbing system.
- Electricity powers your lights, outlets, appliances, and climate control.
- Sewer allows you to safely empty your holding tanks when they fill up.
That’s it. No hidden complexity, just three separate systems that each have their own tools and best practices. The key is to approach them calmly and follow a consistent routine.
Fresh Water Hookup: Clean Water In, With Safeguards
Connecting to the campground’s water supply is usually the easiest part. You’ll see a spigot near your site, and your goal is to get that water into your RV safely. But you can’t just use any old garden hose. You need a drinking-water-safe hose, a water pressure regulator, and ideally a water filter.
The pressure regulator is non-negotiable. Campground water pressure can vary wildly, and too much pressure can damage your RV’s plumbing. The regulator sits between the spigot and your hose, protecting your system from surges. A filter is also a smart addition, especially if you’re sensitive to taste or want to keep sediment out of your lines.
Here’s the basic connection process:
- Attach the pressure regulator to the spigot.
- If using a filter, connect it next.
- Attach your freshwater hose to the filter or regulator.
- Connect the other end to your RV’s city water inlet.
- Turn on the water slowly and check for leaks.
That’s all there is to it. Some RVers prefer to fill their fresh water tank and use the onboard pump, but for beginners at a full-hookup site, staying connected to city water is the simplest approach. Just remember to keep your freshwater gear separate from anything used for sewer, use different hoses, bins, and gloves to avoid cross-contamination.
Electric Hookup: Respect the Basics
Electricity can feel intimidating because you can’t see it, but campground power is straightforward if you follow a few rules. Most sites offer either 30-amp or 50-amp service, and your RV is designed for one of those. The pedestal at your site has the matching outlet, and you simply plug in your shore power cord.
Before plugging in, make sure the breaker on the pedestal is off. Then connect your cord to the correct outlet. If you need an adapter (for example, to plug a 30-amp cord into a 50-amp outlet), use the proper one. Once everything is connected, turn the breaker on. That’s the whole process.
One common beginner mistake is trying to run too many power-hungry appliances at once. Your RV’s electrical system has limits, and you’ll learn them over time. For instance, running the air conditioner, microwave, and electric water heater simultaneously might trip a breaker on a 30-amp service. That’s not a failure, it’s just a lesson in how your rig uses power. Be mindful of what you’re running, and you’ll avoid most issues.
Sewer Hookup: The Part Everyone Worries About
Let’s be honest, sewer is the least glamorous part of RVing, and it’s the one that causes the most anxiety for beginners. But it’s completely manageable with a few common-sense habits. Your RV has two holding tanks: a black tank for toilet waste and a gray tank for sink and shower water. These tanks don’t empty automatically just because you’re connected to the sewer. You control the flow with dump valves.
To connect, attach your sewer hose securely to the RV’s outlet and then to the campground’s sewer inlet. Make sure the connection is tight, some sites require a threaded fitting. Then, here’s the golden rule: keep your black tank valve closed until it’s time to dump. If you leave it open, liquids will drain away while solids stay behind, creating a nasty clog that nobody wants to deal with.
When it’s time to empty, follow this sequence: dump the black tank first, then the gray tank. The gray water helps rinse the hose on its way out. After dumping, close the valves and disconnect. Always wear gloves, keep your sewer gear separate from everything else, and wash your hands thoroughly afterward.
For more detailed advice on managing your RV’s waste and water systems, check out our article on Best Ways to Manage Waste and Water Systems in Your RV. It covers tank maintenance and best practices in depth.
The Best Setup Order for Beginners
Having a consistent order for setting up your campsite reduces stress and prevents mistakes. Here’s a beginner-friendly sequence that works well:
- Park and level your RV.
- Stabilize if needed.
- Connect electric—this gives you power for everything else.
- Connect water—so you can use sinks, toilet, and shower.
- Connect sewer—if you plan to stay connected during your stay.
- Extend slides, set up the inside, and settle in.
This order makes sense because you want the RV stable before you start hooking things up, and electricity is the most critical utility. Water comes next, and sewer is last because it’s the least urgent. Following this routine every time means you won’t forget a step, even when you’re tired or distracted after a long drive.
Having the right gear makes the process smoother too. If you’re looking for essential items to have on hand, our list of Top 10 Must Have RV Accessories for First Time Owners is a great starting point.
Common Hookup Mistakes Beginners Make
Most hookup mistakes are small and preventable—they happen when you rush or skip steps. Here are the ones we see most often:
- Skipping the water pressure regulator—this can damage your plumbing.
- Using the wrong hose for fresh water—never use a regular garden hose for drinking water.
- Plugging in without turning off the breaker—always check the pedestal breaker first.
- Overloading your electrical system—know your RV’s limits.
- Leaving the black tank valve open—this leads to the dreaded “poop pyramid.”
- Rushing the setup—take your time, even if your neighbor is already relaxing.
The biggest mistake of all is feeling pressured to go fast. Campgrounds can make you self-conscious, but there’s no prize for the quickest setup. Slow down, double-check your connections, and you’ll avoid most problems.
Final Thoughts: Confidence Comes From Repetition
No one becomes an expert overnight. The first few times you hook up, you’ll probably fumble a bit—that’s normal. But every time you do it, it gets easier. After a few trips, you’ll be able to set up without even thinking about it. The key is to build a routine and stick to it. Use checklists if you need to, and don’t be afraid to ask fellow campers for help. RVers are a friendly bunch, and most are happy to share tips.
Remember, RV hookups are just three simple systems. Once you understand them, they become second nature. So take a deep breath, follow the steps, and enjoy the open road. You’ve got this.