
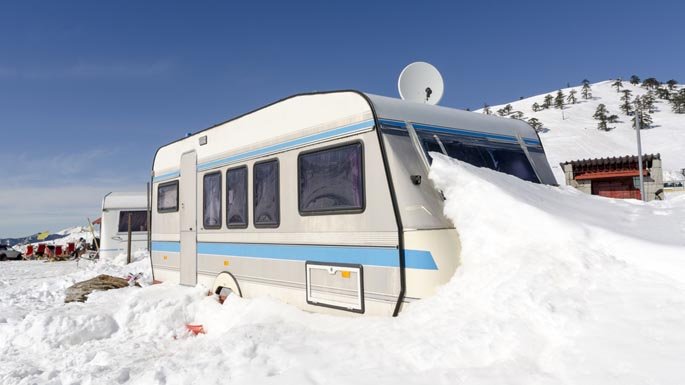
Winterizing your RV is a critical step to protecting it against damage and avoiding costly repairs. The process involves prepping the automotive portion of your camper trailer or motorhome for winter conditions.
Assemble all necessary materials. You will require 2-3 gallons of non-toxic RV/marine antifreeze and tools to locate and open low-point drains (look for stickers or consult your owner’s manual), as well as a tank cleaning wand and flushing system.
Drain the Water Tanks
Holding tanks of an RV (also referred to as water tanks) hold all gray and black water from sinks, showers, and toilet(s). When leaving your RV unused for extended periods or winterizing it properly, it should be drained regularly, as frozen water expands when frozen, potentially cracking pipes that could prove costly to repair in the future.
To drain the water tanks on an RV, first shut off its main water supply valve and disconnect any city water hoses (if any are connected). Next, locate your low-point drains, typically found under your RV near its water heater, and open them until all hot and cold lines have drained fully of their respective supplies of water.
Once complete, switch off the water pump. To prevent mold or mildew from growing in your fridge when not in use, open and drain the petcock after unplugging it. Moisture absorbers may be placed within these appliances to further reduce moisture and odor issues.
Before draining the RV, ensure there is plenty of room underneath. While draining, take this opportunity to scrub down and wash its exterior before applying a layer of wax for added protection against road salt damage and weather elements like snowfall or rainstorms.
Add Antifreeze
RVs that aren’t winterized may experience water damage when temperatures drop, such as frozen pipes causing mildew and mold growth. To avoid this issue, it’s crucial that antifreeze be added to supply lines—using non-toxic RV antifreeze ensures any liquid plumbing will stay liquid even at extremely low temperatures. Using this process is straightforward and most likely already exists within your rig.
Begin by draining your RV’s freshwater tank. Next, open all faucets, including showers and outdoor spigots, while flushing the toilet to remove any remaining water. Locate and open any low-point drain plugs underneath your RV that are usually near its water heater—these should be clearly labeled, so if you need help finding them, you can refer to your owner’s manual for guidance.
Once the water tanks and low-point drains have been drained, pour at least four gallons of RV non-toxic antifreeze into your freshwater tank. Also add one or two quarts to each sink drain, shower drain, and P-trap.
Antifreeze should also be added to the washing machine if possible, for safety’s sake. Please remember to close off any petcocks or valves you opened as well as drain and cap any drains to stop any animals from entering your RV!
Bypass the Water Heater
No RV owner wants their water lines to freeze and burst during cold weather, and antifreeze is an ideal way to prevent it. Simply replace all supply and drain lines with liquid antifreeze that remains liquid even at very low temperatures. First, locate and open your low-point drains (usually found underneath your RV and clearly labeled). Before going inside, drain all faucets and showers by opening and flushing each until no more water comes out of any of them.
Once the water has been drained from your RV’s tank, it is time to bypass its water heater using a bypass valve kit. This affordable and user-friendly accessory will save money and protect against freezing damage by helping you bypass antifreeze costs and prolong tank life. Also be sure to plug drains at each of your exterior termination points to complete this step.
Even with antifreeze added, more will be needed to fully replace the water. You should also empty and flush both black and gray tanks, which is an unpleasant yet essential task if you want your RV running optimally over winter.
Clean the Black Tank
Spend five minutes browsing social media, and you’ll see an array of “hacks” for cleaning an RV black tank, some more convincing than others, with little success in terms of cleaning your tank properly. Sloshing water around might remove minor residue or keep things slippery, but it won’t do much against waste that has settled into solid pyramids.
Use a tank flushing product such as Simple Green with a dedicated length of garden hose for best results. Pour several ounces of cleaner down your toilet, followed by a gallon of water. Conduct the smell test; if successful, the job is complete!
If you want a quick and efficient way to ensure that your tank is truly clean, consider professional services like Kleen Tank. Their high-powered treatments remove buildup while restoring sensor function for a fresh-smelling black tank ready for road travel again. Regardless of which route you take, keeping RV tanks and plumbing properly cleaned regularly is vitally important if we want our RVs ready for winter adventures and beyond. With regular maintenance sessions now in place, we can be assured our RV will always be up to the challenge of winter adventures ahead!