
Traveling in an RV offers freedom, excitement, and comfort. However, electrical problems are one of the biggest annoyances for RV owners. Power outages, such as flickering lights or a dead battery, can make the trip less enjoyable and more stressful. Fortunately, with a little knowledge and attention, most electrical problems in RVs can be identified and resolved before they escalate. This guide provides detailed instructions on how to diagnose and resolve common RV electrical problems while ensuring your electrical system operates safely and reliably.
RV’s Electrical System
Before beginning any repairs, it’s crucial to understand your RV’s two main electrical systems:
- The 12-volt DC system powers fans, lights, water pumps, and control panels. You can power these using the RV’s batteries or adapters.
- The 120-volt AC system, connected to shore power or a generator, powers high-powered appliances such as air conditioners, heaters, and electrical outlets.
- These circuits are interconnected, so a fault in one circuit can affect others. Understanding the difference between DC and AC circuits will help you diagnose problems more quickly.
Check fuses or circuits
Electrical faults in your RV can be caused by simple reasons, such as a blown fuse or a tripped circuit breaker. If your lights or tools suddenly stop working, this is the first thing to check.
Locate the circuit breaker in your RV. It’s usually located near the inverter. If a breaker trips, turn it off and on again to reset it. It’s best to avoid fuses that look black or broken. Replace them with fuses of the same type and wattage.
Tip: Keep extra fuses and a small screwdriver in your RV toolkit. Many RV owners forget these, but they could save your trip if you find yourself stranded far from safety.
RV battery
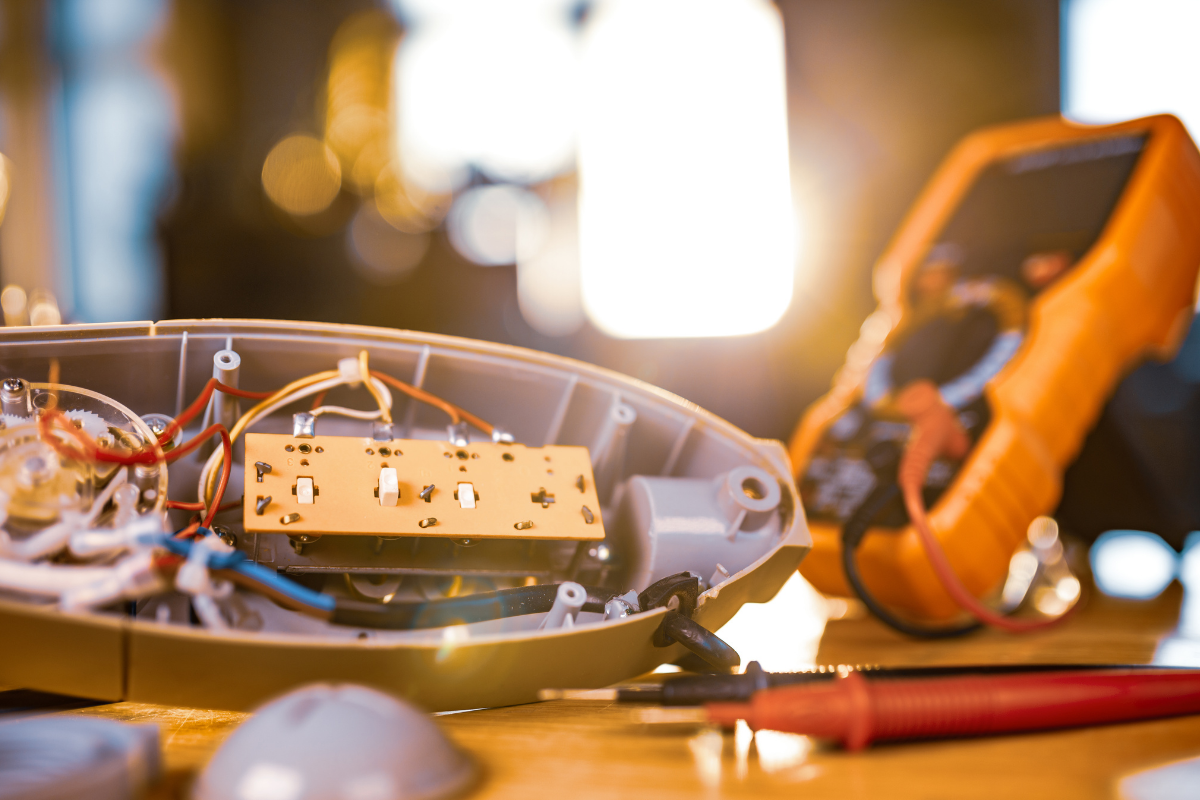
If your lights are dim or your 12-volt appliances aren’t working properly, the battery might be the problem. Use a voltmeter or tester to check the RV battery. A fully charged 12-volt battery should have a voltage between 12.6 and 12.8 volts when not in use. If this is lower than 12 volts, the battery is low or damaged.
You can clean the battery connections with a mixture of baking soda and water to remove rust. Make sure all connections are tight and reliable. If the battery can charge but not hold a charge, it may need to be replaced.
Keep batteries fully charged when storing them. Check the electrolyte level in lead-acid batteries monthly to prevent future problems.
Shore power connections
Problems don’t always occur in the RV; sometimes the shore power connection is faulty. A faulty electrical outlet at the campsite, such as a damaged cord or an incorrectly fitted plug, can lead to power outages or even a fire hazard.
Check the power cord for signs of breakage, burning, or melting. If you suspect the outlet is damaged, check it with a current tester before plugging in the RV. Always connect the RV to a suitable power source (depending on the RV’s configuration, this may be 30 or 50 amps).
Using a surge protector is strongly recommended. Voltage spikes and electric shocks can damage electrical equipment in the RV, and a surge protector can effectively prevent this.
Troubleshooting Inverters
Inverters and converters convert AC power from the wall socket to DC power for the RV’s 12-volt system. They also charge the battery. If a 12-volt appliance doesn’t work after plugging it in, the adapter may be faulty.
Check if the fan on the inverter is running. If not, check if the fuse or circuit breaker on the grounding inverter is blown. Use a voltmeter to check the DC voltage. If the inverter doesn’t display any voltage, it needs to be repaired or replaced.
If your inverter (which converts DC power from the battery to AC power) doesn’t light up the outlet when it’s not connected to the grid, check that the inverter is turned on and that the wiring is clean. A loose wire or low battery voltage can cause the inverter to malfunction.
Flickering lights and voltage spikes
Flickering or dimming lights usually indicate a loose wire, low battery voltage, or a problem with the inverter. Check the fittings and wiring for corrosion or looseness. Tighten or replace the wiring as needed.
A faulty residual current device (RCD) can cause an electrical outlet to suddenly stop working. RCDs prevent electric shocks and are usually installed in kitchens or bathrooms.
To reset the RCD, press the button. Once power is restored, the problem is solved. If the RCD continues to trip, it could be due to water ingress, a broken cable, or an overloaded circuit. To determine the cause, unplug all appliances, reset the breaker, and plug them back in one by one.
Check for outlets without RCDs connected to the same circuit. A tripped breaker or a faulty power supply can cut off power to multiple outlets simultaneously.
Check for parasitic power losses.
If your RV’s battery drains quickly, even when not in use, parasitic power losses may be occurring. These systems consume power even when the RV is not in use. Alarm clocks, clocks, and electronic control panels are common sources of leakage.
Switch a voltmeter from the current setting to the current setting and connect it between the positive and negative terminals of the battery to locate the leakage point. A significant reading indicates that an appliance is using power. To determine the cause, disconnect each electrical appliance one at a time.
- Installing a battery disconnect switch helps prevent the RV battery from draining when not in use.
- Properly maintain and protect your RV’s electrical system.
- It’s best to prevent electrical malfunctions in your RV from the start. Follow these maintenance tips to avoid costly repairs:
- Check wiring and terminals every two months for rust or looseness.
- Keep pests that might chew on wires out of the electrical compartment. Keep the electrical compartment dry.
- Use only high-quality adapters and extension cords specifically designed for RVs.
- To prevent overloading the circuit, ensure all outlets have a balanced power supply.
- Have your RV professionally inspected annually, especially older models.
- Wherever your RV goes, a well-maintained electrical system ensures a safe and comfortable journey.
FAQs
1. Why does my RV lose power even when plugged into an outlet?
This could be due to a broken power cord, a tripped circuit breaker, or a faulty switch. 1. Check your shore power with a current tester before connecting it.
2. How do I determine if my adapter is faulty?
If a connected 12V appliance stops working and doesn’t charge the battery, the adapter is likely faulty. Check the DC output voltage. If there is no voltage, the adapter may need to be replaced.
3. What should I do if the interior lights flicker when using RV appliances?
It’s likely that the circuit is overloaded or that your battery or adapter isn’t providing enough power. Reduce the load or check the wiring.
4. Can I use a regular extension cord in my RV?
Absolutely not. Always use a high-voltage cord specifically designed for RVs and ensure the amperage is suitable for the RV to prevent fires.
5. How often should I check my RV’s electrical system?
Check it at least every three months, before every long trip, and whenever you use the RV regularly. Preventative maintenance prevents unexpected power outages.
Summary
Electrical problems in an RV can be alarming, but most are easy to find and fix with a little time and basic tools. Knowing your RV’s electrical system can help you troubleshoot issues like a dead battery, a faulty inverter, or a tripped circuit breaker.
You can prevent most problems by regularly checking the wiring, keeping it clean, and using surge protectors. Properly maintaining your RV’s electrical system will keep your lights on, your tools working properly, and your travels uninterrupted for any reason.
Keep your RV powered—it’s your mobile home, after all—and it will take you safely to many places.